 Save to Pinterest
 My college roommate stumbled into our kitchen at midnight during exam week, clutching a can of sweetened condensed milk like it was some kind of culinary treasure she'd just discovered. We were exhausted, sugar-deprived, and desperately in need of something that required zero baking time because we'd already accidentally set off the fire alarm twice that semester. She tossed random ingredients onto the counter—coconut, chocolate chips, a box of graham crackers we'd been using for s'mores emergencies—and what emerged became the stuff of dorm legend.
I brought these to a friend's summer potluck last year, and within twenty minutes, three different people had cornered me demanding the recipe. The best part was watching the kids' faces light up when they realized these bite-sized treats were just their size—no cutting required, no crumbling cake slices, just pop-in-your-mouth perfection that disappeared faster than I could replenish the platter.
Ingredients
- Sweetened Condensed Milk: This is the glue holding everything together, and trust me, evaporated milk will not give you the same fudgy texture we're after
- Unsalted Butter: Melted so it incorporates evenly, and using unsalted lets you control exactly how salty things get
- Vanilla Extract: Don't skip this—it rounds out all that sugar and coconut with that warm bakery flavor everyone notices but can't quite place
- Dried Shredded Coconut: Sweetened coconut works best here because we're not adding any extra sugar to the mixture itself
- Graham Cracker Crumbs: You'll need extra for rolling, and crushing your own from whole crackers gives you better texture control than buying pre-crumbled
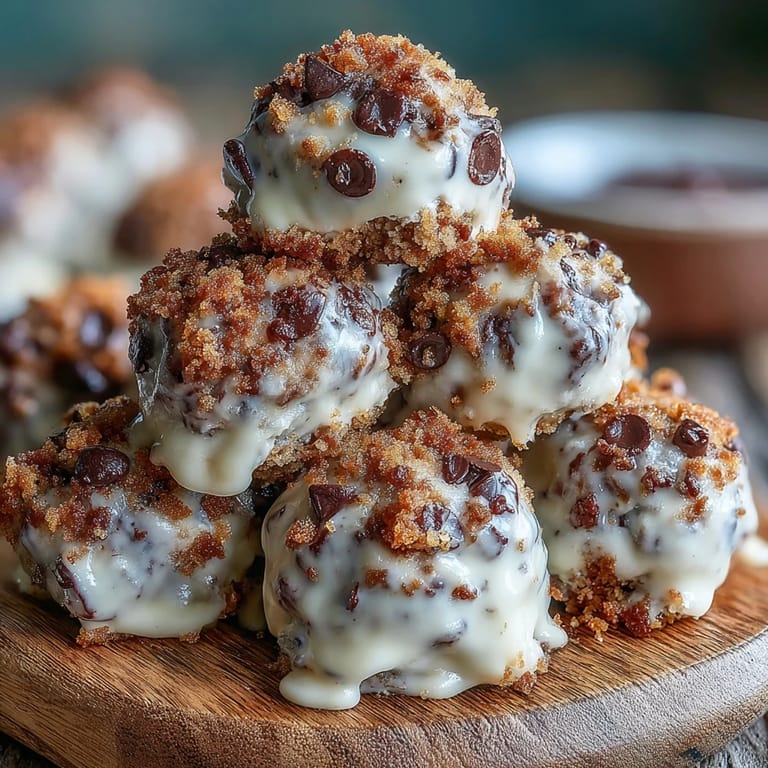
- Chocolate Chips: They stay whole in the mixture, creating these pockets of melted chocolate throughout every bite
Tired of Takeout? 🥡
Get 10 meals you can make faster than delivery arrives. Seriously.
One email. No spam. Unsubscribe anytime.
Instructions
- Mix the wet base:
- Whisk together your melted butter, sweetened condensed milk, and vanilla until everything is completely smooth and there are no streaks of separated butter remaining
- Combine everything:
- Fold in the graham cracker crumbs, coconut, and chocolate chips until the dry ingredients are evenly coated and no loose powder remains visible
- Chill the mixture:
- Refrigerate for at least one hour, because trying to roll warm, sticky mixture into balls will leave you questioning every life choice that led to this moment
- Form the bites:
- Scoop portions with a tablespoon measure and roll them between your palms—the warmth of your hands actually helps the mixture hold together
- Add the coating:
- Roll each ball in extra graham cracker crumbs, pressing gently so the coating actually sticks instead of sliding right off
- Final set:
- Place them on a parchment-lined baking sheet and chill for another 15 minutes so they firm up enough that they won't flatten when you stack them
 Save to Pinterest
 Now these little Moose Bites have become my go-to for everything from school bake sales to holiday parties. There's something deeply satisfying about handing someone a treat that looks elegant but took twenty minutes to throw together, and watching their expression change from polite appreciation to genuine delight.
Making Them Your Own
Once you've mastered the basic version, the variations are honestly endless. I've added crushed pecans for a praline twist, stirred in peanut butter chips instead of chocolate for the PB lovers in my life, and even dipped the finished balls in melted white chocolate for those occasions when apparently regular chocolate just isn't enough indulgence for one gathering.
Texture Tips
The ratio of graham cracker crumbs to coconut is what gives these that perfect chewy-crunchy balance, and I've learned through experimentation that going heavier on the crumbs makes them denser while more coconut keeps them lighter and fluffier. The mixture should hold its shape when you squeeze a small amount in your palm—too sticky means more refrigeration time, too crumbly means you need a splash more sweetened condensed milk.
Serving Suggestions
These work beautifully on dessert platters alongside cookies and bars, or they can stand alone as the sweet finish to a casual meal. I like to serve them with coffee or hot chocolate because that warm beverage contrast really highlights how rich and creamy they are. For parties, consider making them slightly smaller so guests can try multiple flavors if you've made variations.
- Arrange them on a tiered stand for an elevated presentation that makes them look even more impressive
- Sprinkle a tiny pinch of sea salt on top before the final chill if you want to emphasize that sweet-salty thing everyone seems obsessed with lately
- Keep them refrigerated until right before serving because warm, soft moose bites lose their structural integrity pretty quickly
 Save to Pinterest
 These no-bake bites have saved me more times than I can count when I needed something impressive but had zero time or energy. Hope they become your emergency treat too.
Recipe Questions
- → How long do Moose Bites need to chill?
The mixture needs to chill for about 1 hour until firm enough to handle. After rolling and coating, the bites require an additional 15 minutes in the refrigerator to set completely before serving.
- → Can I make Moose Bites ahead of time?
Yes, these treats store excellently in an airtight container in the refrigerator for up to one week. The coating stays crisp and the centers remain firm. They actually taste better after a day as flavors meld together.
- → What's the best way to roll the mixture without it sticking?
Chill the mixture thoroughly until firm. Use a small cookie scoop or tablespoon dipped in cold water to portion. Lightly coat your hands with graham cracker crumbs or butter to prevent sticking while rolling into balls.
- → Can I freeze Moose Bites for longer storage?
Absolutely. Place the rolled and coated bites on a baking sheet until frozen solid, then transfer to a freezer-safe container. They'll keep for up to 3 months. Thaw in the refrigerator for 2 hours before serving.
- → What substitutions work well in this recipe?
Swap milk chocolate chips for dark or white chocolate varieties. Add chopped toasted pecans or walnuts for extra crunch. Use gluten-free graham crackers to accommodate dietary restrictions. The sweetened condensed milk is essential for the right texture.
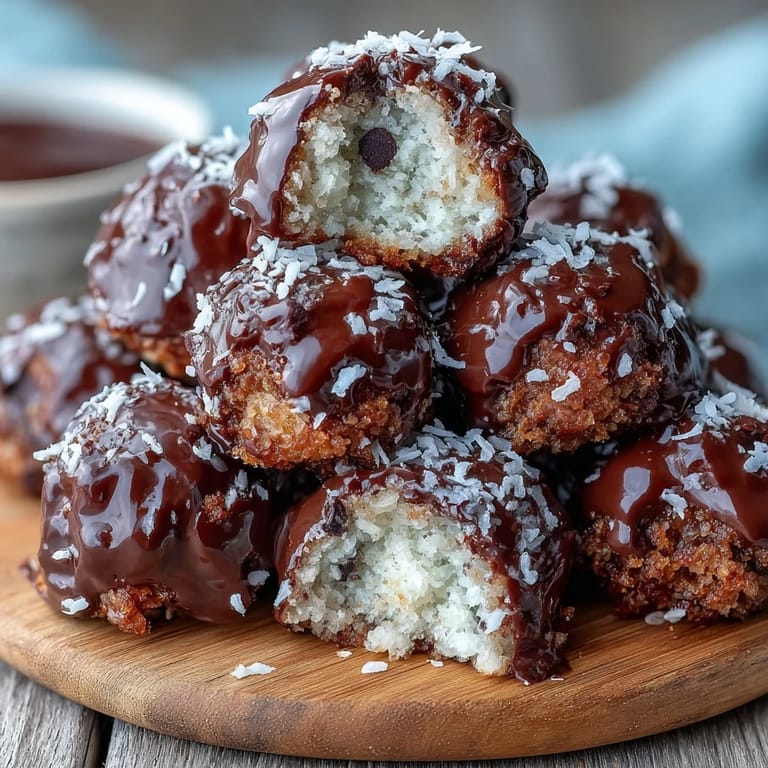
- → Why are they called Moose Bites?
The name likely comes from their North American origins and resemblance to traditional moose droppings—a humorous Canadian and American naming convention for chocolate-coated treats. The graham cracker coating gives them their characteristic appearance.