 Save to Pinterest
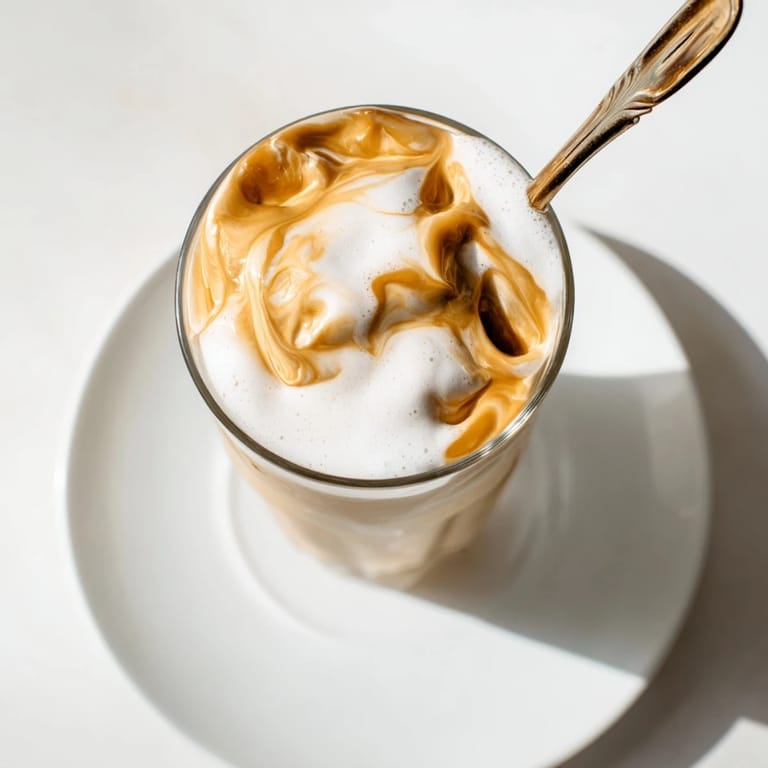
 There's a particular Tuesday morning I won't forget when my friend walked into the kitchen carrying a Starbucks cup with that impossibly perfect layer of cloud-like foam on top, and suddenly our homemade cold brew setup felt incomplete. She swore it was the crown jewel of her morning ritual, so naturally I became obsessed with recreating it at home. After a few experiments and some enthusiastic jar-shaking sessions, I discovered that the magic wasn't really magic at all—just cold cream, a splash of milk, vanilla syrup, and the right amount of vigorous whisking. Now I can't imagine pouring cold coffee without this luxurious foam topping.
I remember standing in my kitchen on a sweltering Saturday afternoon, impressing my sister with three different foam variations in quick succession—vanilla, hazelnut, and caramel. She kept asking how I'd managed to nail that silky texture, and I was just as surprised as she was when the jar-shaking method worked beautifully. Within minutes we had enough foam to top a pitcher of cold brew, and suddenly my humble kitchen felt like a tiny specialty coffee shop. That afternoon cemented this recipe as one of my go-to moves for making guests feel like they're getting something special.
Ingredients
- Heavy cream (1/3 cup, cold): This is your foam foundation—the fat content is what creates that luxurious, voluminous texture, so don't skip the quality here.
- 2% milk (2 tbsp, cold): The milk lightens the foam and prevents it from becoming too dense or separating, creating that cloud-like consistency you're after.
- Vanilla syrup (1 tbsp): Use store-bought for convenience, or make your own for a fresher, more controlled sweetness that ties everything together beautifully.
Tired of Takeout? 🥡
Get 10 meals you can make faster than delivery arrives. Seriously.
One email. No spam. Unsubscribe anytime.
Instructions
- Gather and chill:
- Pour your cold heavy cream and milk into a tall, narrow glass or milk frother, making sure both liquids are genuinely cold—this matters more than you'd think for getting that volume.
- Whip with determination:
- Use a handheld milk frother and watch as the mixture transforms in about 30 to 60 seconds, or shake a tightly sealed jar with gusto until the volume roughly doubles and you see smooth, billowy peaks forming.
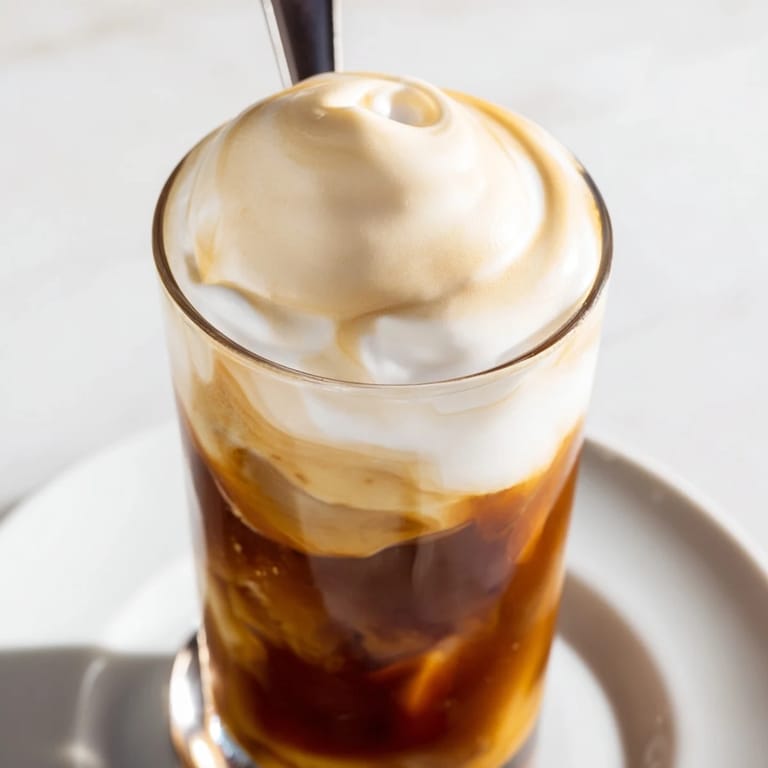
- Crown your coffee:
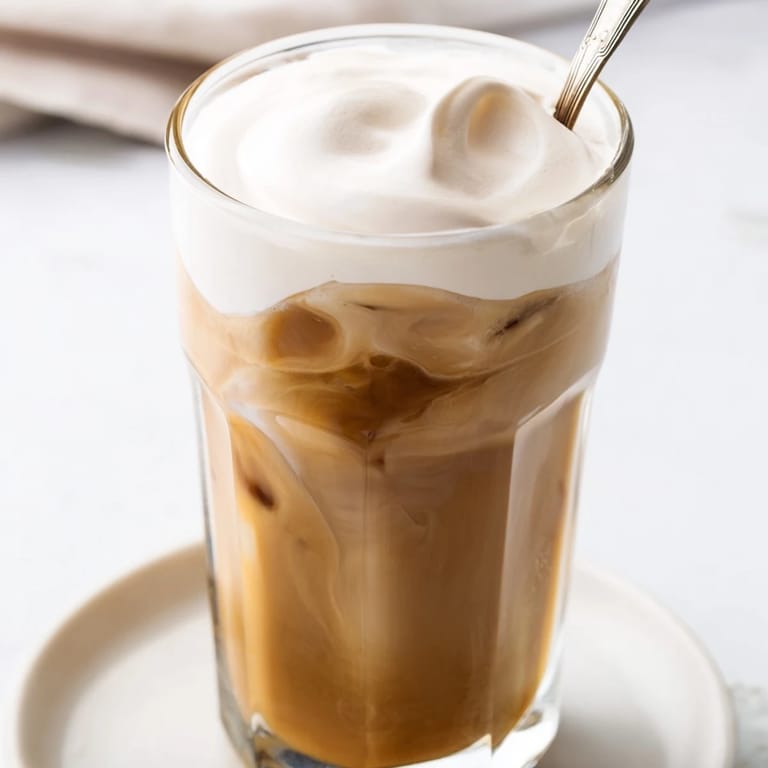
- Spoon the foam gently over your iced coffee or cold brew while it's still at its fluffiest, and serve immediately to catch that perfect texture.
 Save to Pinterest
 One quiet morning before anyone else woke up, I made this foam and sat on the back porch with a cup of cold brew, just me and that perfect silky layer on top. Something about that simple, homemade moment—knowing I'd cracked the code on something I'd been trying to replicate—made it taste infinitely better than any café version.
Flavor Variations Worth Exploring
Once you've mastered the vanilla version, the door opens to endless possibilities. Hazelnut syrup creates a cozy, nutty richness that feels almost dessert-like, while caramel syrup brings warmth and depth. I've even experimented with a touch of almond extract mixed with the vanilla for something unexpected, and my partner absolutely devoured that version. The ratio stays exactly the same—just swap the vanilla syrup for your chosen flavor—and suddenly you have a completely different experience in the same five minutes.
Making Your Own Vanilla Syrup
If you find yourself making this foam regularly, homemade vanilla syrup is a worthwhile shortcut that transforms the whole process. Simply combine half a cup of sugar and half a cup of water in a small saucepan, heat gently until the sugar dissolves completely, then remove from heat and stir in a teaspoon of vanilla extract. Let it cool fully before using, and it'll keep in your fridge for weeks, ready whenever you need it. The flavor is noticeably fresher and brighter than most store-bought versions, and there's something deeply satisfying about having it waiting in a small jar, ready to elevate your morning routine whenever you need it.
The Texture Science and Troubleshooting
The beauty of cold foam lies in understanding what's actually happening: the fat in the cream creates tiny air pockets when agitated, while the milk stabilizes those bubbles and prevents them from collapsing too quickly. If your foam turns grainy or separates, you've likely either overworked it or used warm ingredients—both fixable mistakes. The ideal foam should feel silky and light, doubling in volume within a minute or so, and sitting proudly on top of your coffee without deflating immediately. I've learned through trial and error that using a tall, narrow vessel (rather than a wide bowl) actually helps contain the motion and creates better volume faster, and keeping your frother or whisk fully submerged until the very end prevents splashing and wasted foam.
- For a lighter, airier foam, increase the milk slightly and reduce the cream proportionally.
- Always serve immediately after frothing to catch the foam at peak texture and volume.
- If you don't have a frother, a sealed jar and some enthusiastic shaking works just as well and honestly feels quite satisfying.
 Save to Pinterest
 Every time I watch that foam settle into a perfect cloud on someone's coffee, I'm reminded that the best kitchen victories often come from the simplest ingredients and a little bit of patience. This foam has become my secret weapon for making ordinary mornings feel extraordinary.
Recipe Questions
- → What ingredients create the foam's texture?
Combining cold heavy cream and milk with vanilla syrup, then whipping vigorously, produces a thick, smooth foam with a luxurious texture.
- → Can I use different flavorings in the foam?
Yes, hazelnut or caramel syrup can replace vanilla syrup for different flavor variations while maintaining the foam's creaminess.
- → What tools help achieve the best foam?
A handheld milk frother, electric whisk, or tightly sealed jar shaken vigorously helps create the rich, doubled-volume foam.
- → How long does it take to prepare the foam?
Preparation takes about 5 minutes, including whipping time of 30 to 60 seconds to reach the desired thickness.
- → Is it better to serve the foam immediately?
Yes, serving right after whipping preserves the airy texture and prevents the foam from collapsing.
- → Can I adjust the foam's richness?
Using more milk and less cream results in a lighter foam, allowing customization of the texture to preference.